Proper Dried Blood Spot Card Collection
Share:
Dried blood spot testing can be used for increasing access to diagnostic testing, especially for patients that aren’t able to make it into a clinical setting. Examples of testing that can be performed with this collection method are Lipids, Vitamin D, Celiac Disease, Heavy Metals, HIV, and Hepatitis. The thought of performing a DBS sample collection might be scary for some, but the process is actually fairly fast and simple if done the right way. Here are some tips to help patients ensure it goes smoothly and that the sample is accepted by the lab.
Prior To Collection
- If possible, start increasing your water intake the day before you take your sample or at least a few hours before. Proper hydration will help create proper blood flow.
- Stop smoking at least one hour prior to collection.
- Wash your hands thoroughly under warm water.
- Place each item in the kit on the surface in front of you, making sure to check the instructions to ensure all items are present.
- Write your name, date of birth, and the date of collection in the designated fields using the MM/DD/YYYY format.
- Open the blood card flap to expose the circles on the blood collection paper, being careful not to touch the blood collection paper at any time during the process.
During Collection
As you begin the collection process, here are some helpful tips:
- If your hands have cooled or more than five minutes have passed since washing them under warm water, do so again.
- Then, shake your hands vigorously toward the floor for 15 seconds to encourage blood flow to your fingers.
- At all times, remember to keep the collection device and your hands below your heart during collection for best blood flow.
Here is exactly how to proceed to gather the sample:
- Clean your fingertip with the provided alcohol pad, ideally using the middle or ring finger of your non-dominant hand.
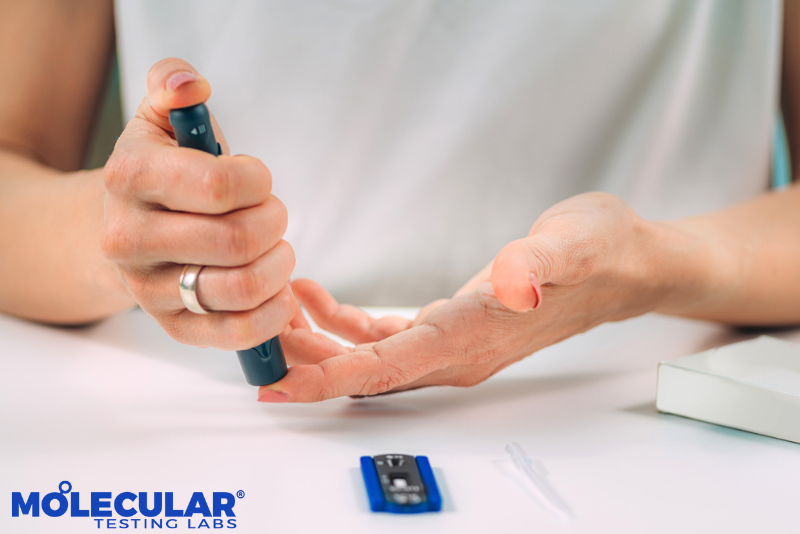
- Take the lancet and twist off the cap. Press the small tip firmly into the side of your finger, near the tip, until the needle ejects with a click. Please note that the lancet is single-use and, even if not used, will need to be returned to the lab for proper disposal.
- Keep your hand below your heart during collection, massaging your finger from base to tip to encourage blood flow.
- Starting at the center, apply 3-6 drops to fill the circle and soak through the collection paper. Once a circle is full, or the blood starts to dry, move on to the next circle.
- Fill each circle on the blood collection paper completely. It is okay for blood to extend beyond lines, and remember that one drop of blood will be required to fill each circle. Add additional drops quickly, as adding them once the blood is dry will invalidate the collection.
After Collection
Once you have the blood spots adequately filled up, do the following:
- Check the backside of the blood collection paper. Blood should saturate all the way through and fill each circle of the collection paper.
- Allow the blood collection paper to air-dry on a flat surface for 15 minutes. Do not heat or blow-dry blood collection paper, as heat will damage the specimen.
- When the paper is dry, close the blood card by tucking the flap. Place the blood card into the provided biohazard bag with the desiccant pack, then double-check that the biohazard bag is properly sealed.
- Send the package back to the lab, so we can start processing your results.
Final Tips
In case you need to perform additional finger pricks, which is sometimes necessary, repeat the hand washing under warm water and vigorous hand shaking again before each one. Also, remember that all samples must be collected on the same day and returned at the same time or are subject to rejection by the lab. This is important for ensuring the lab has a great sample for resulting the test that has been selected.


